Access via Verifiable Credentials
This guide describes the complete process for a company to register its employees in ISBE and for employees to access the Portal using their Verifiable Credential (VC) and the ISBE Wallet app.
The process has two parts:
- Employee registration — action performed by the administrator in the ISBE Portal.
- Using the ISBE Wallet app — action performed by the employee on their mobile device and in the Portal.
1. Employee Registration
Step 1. Accessing the "Credentials" section
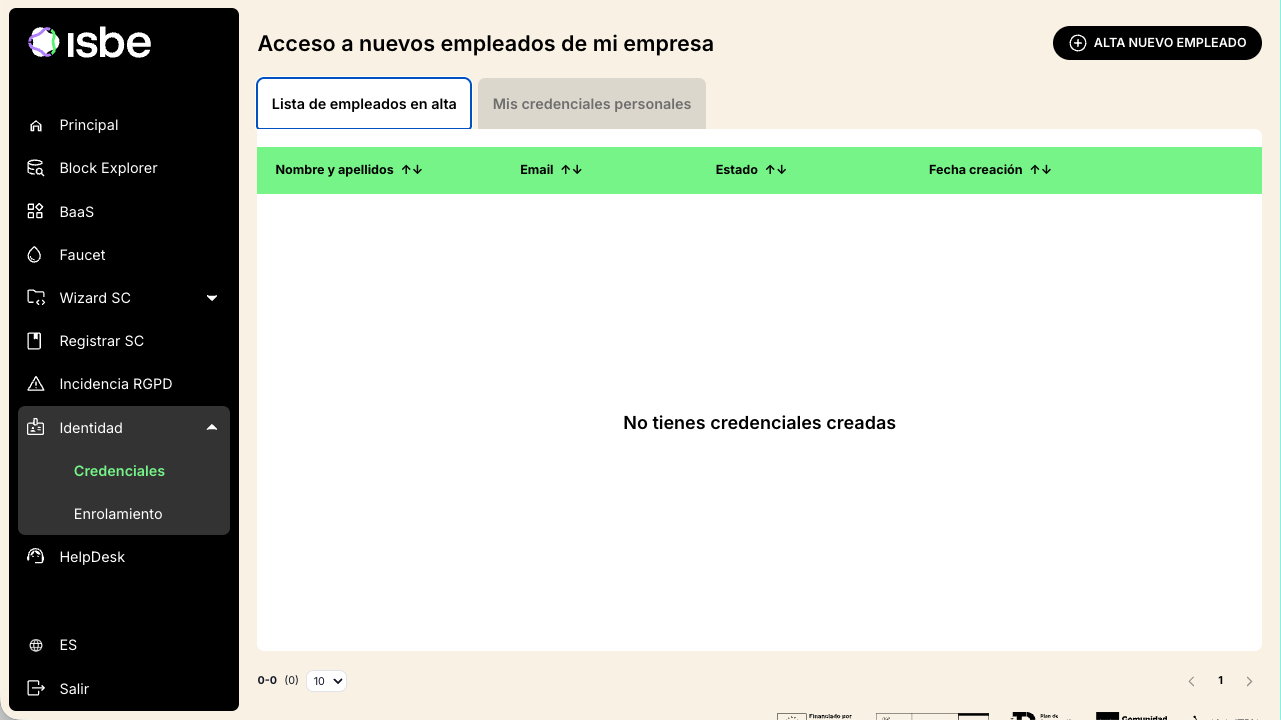
From the ISBE Portal side menu, navigate to: Identity → Credentials.
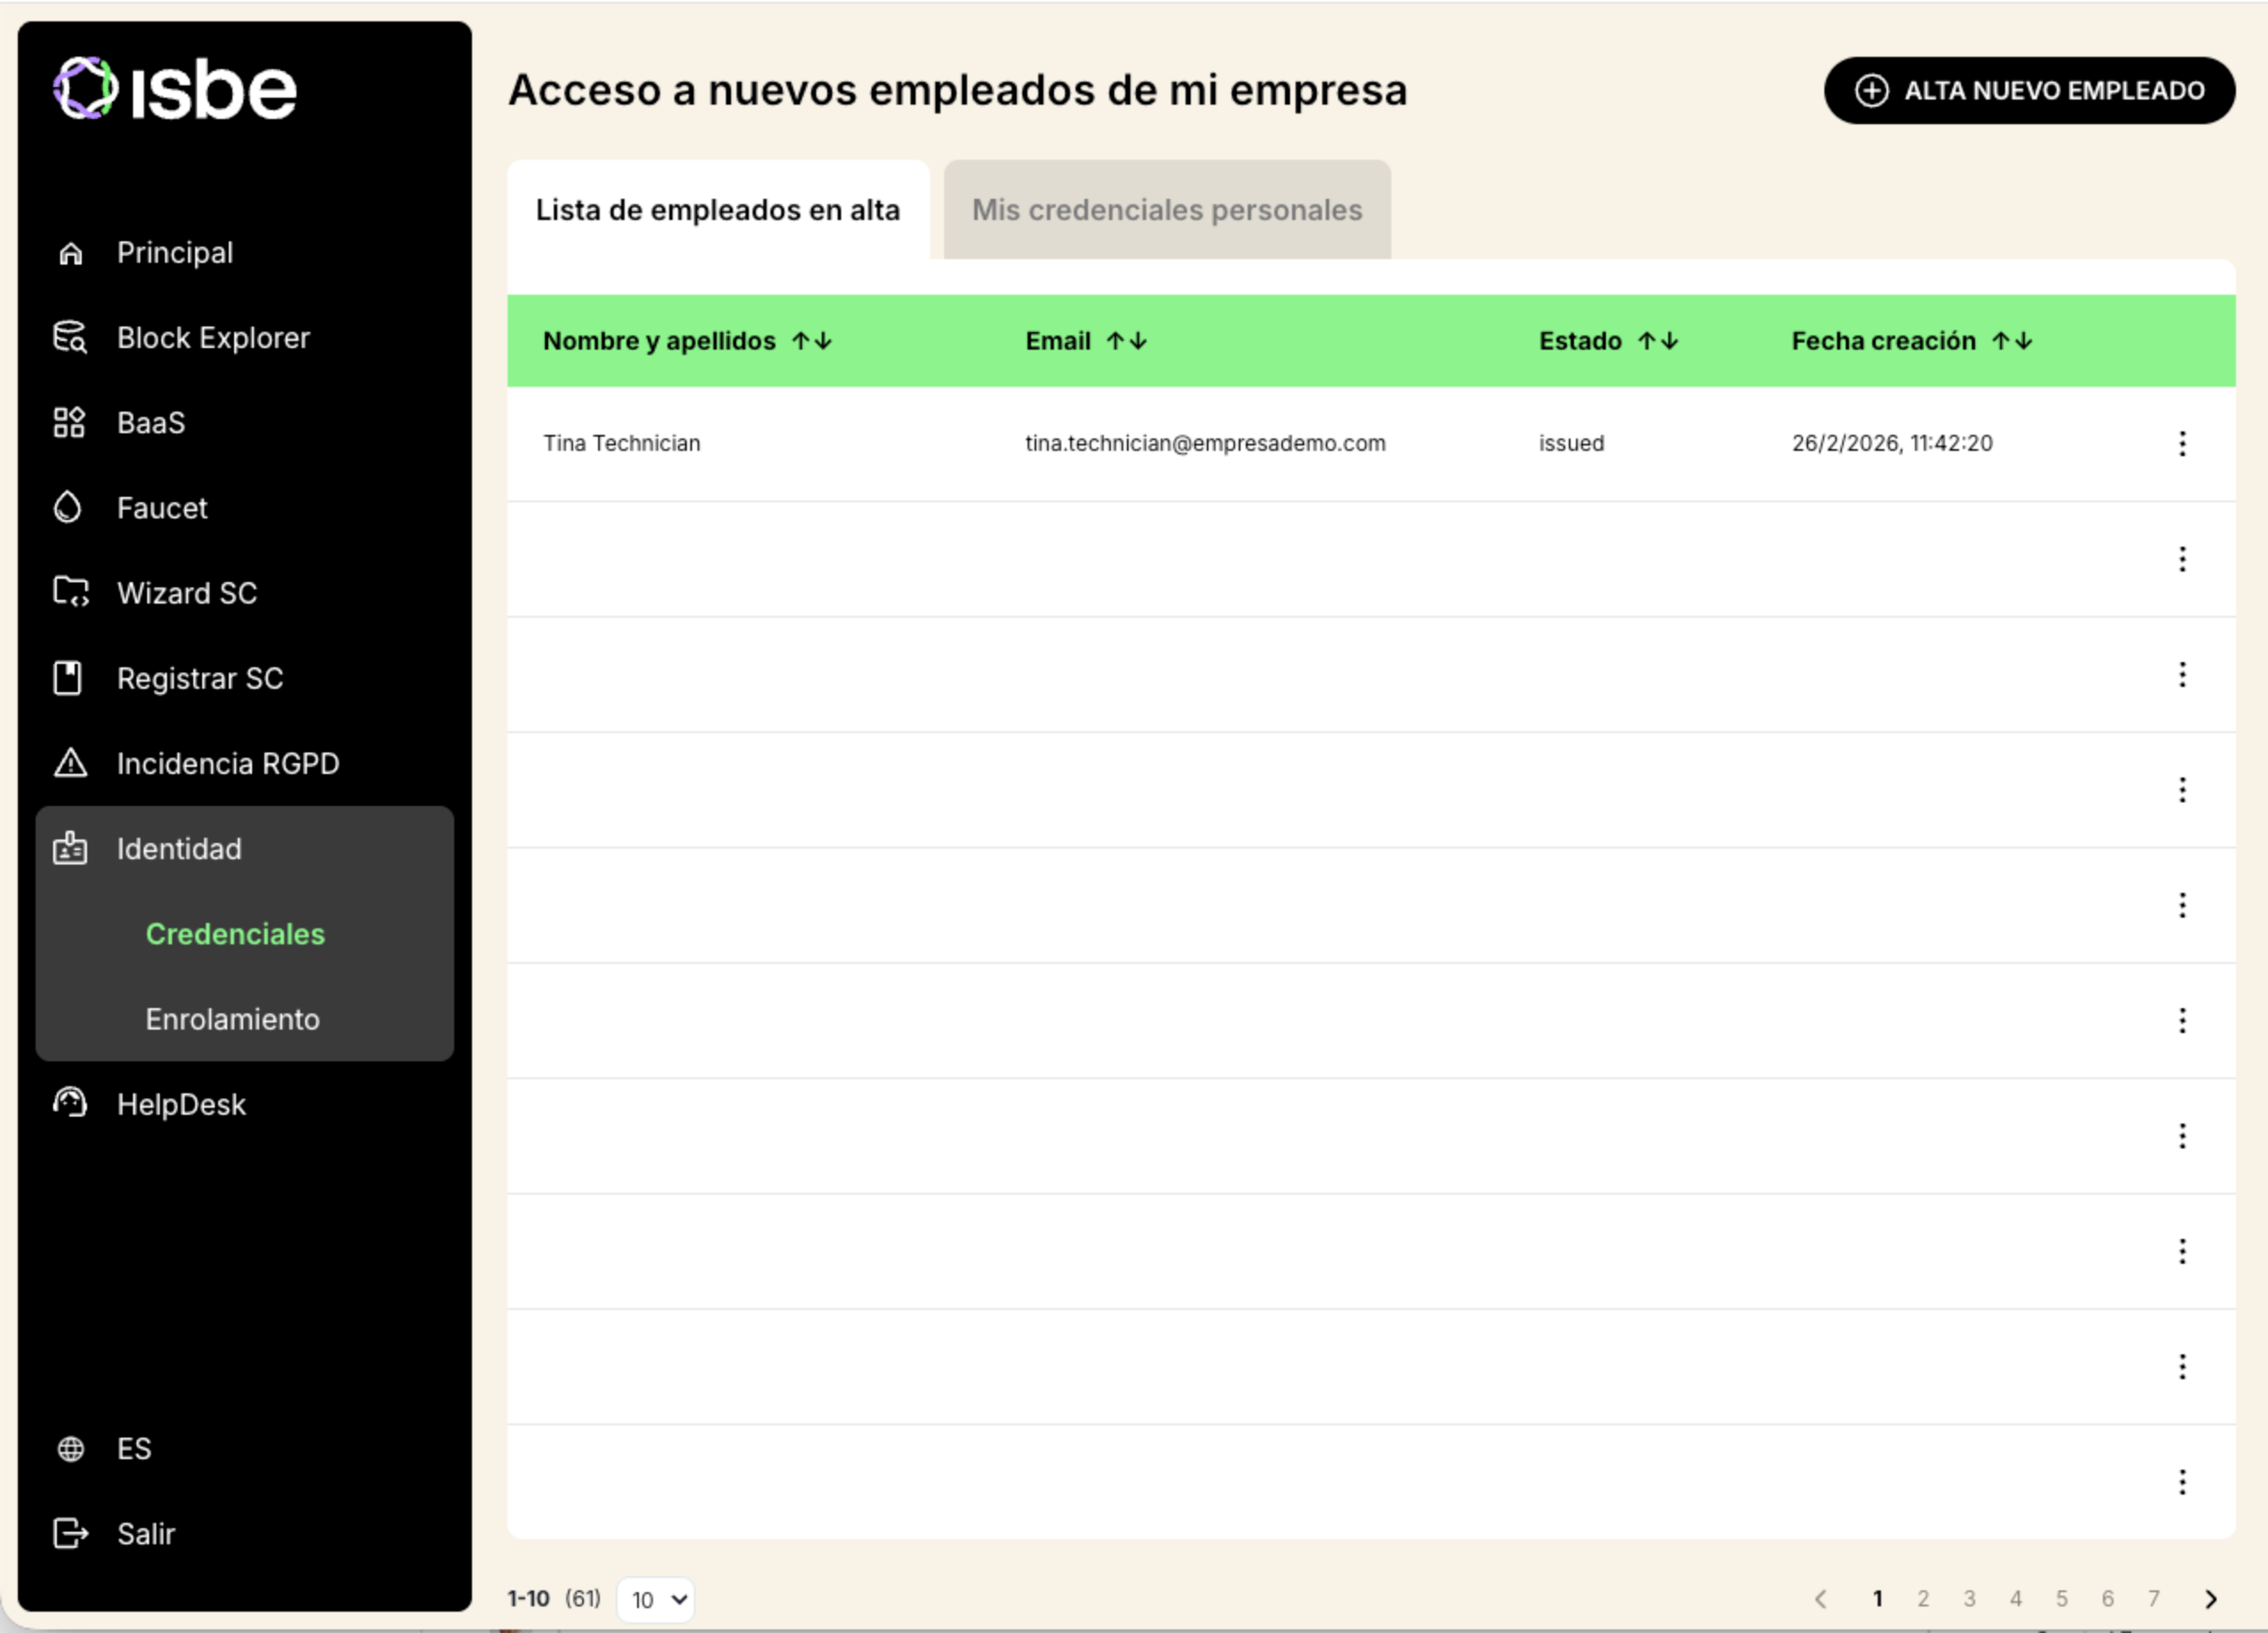
The "Access for new company employees" screen will appear, showing the "Employee list" tab. To start registering an employee, click the "ADD NEW EMPLOYEE" button.
Step 2. Entering employee data
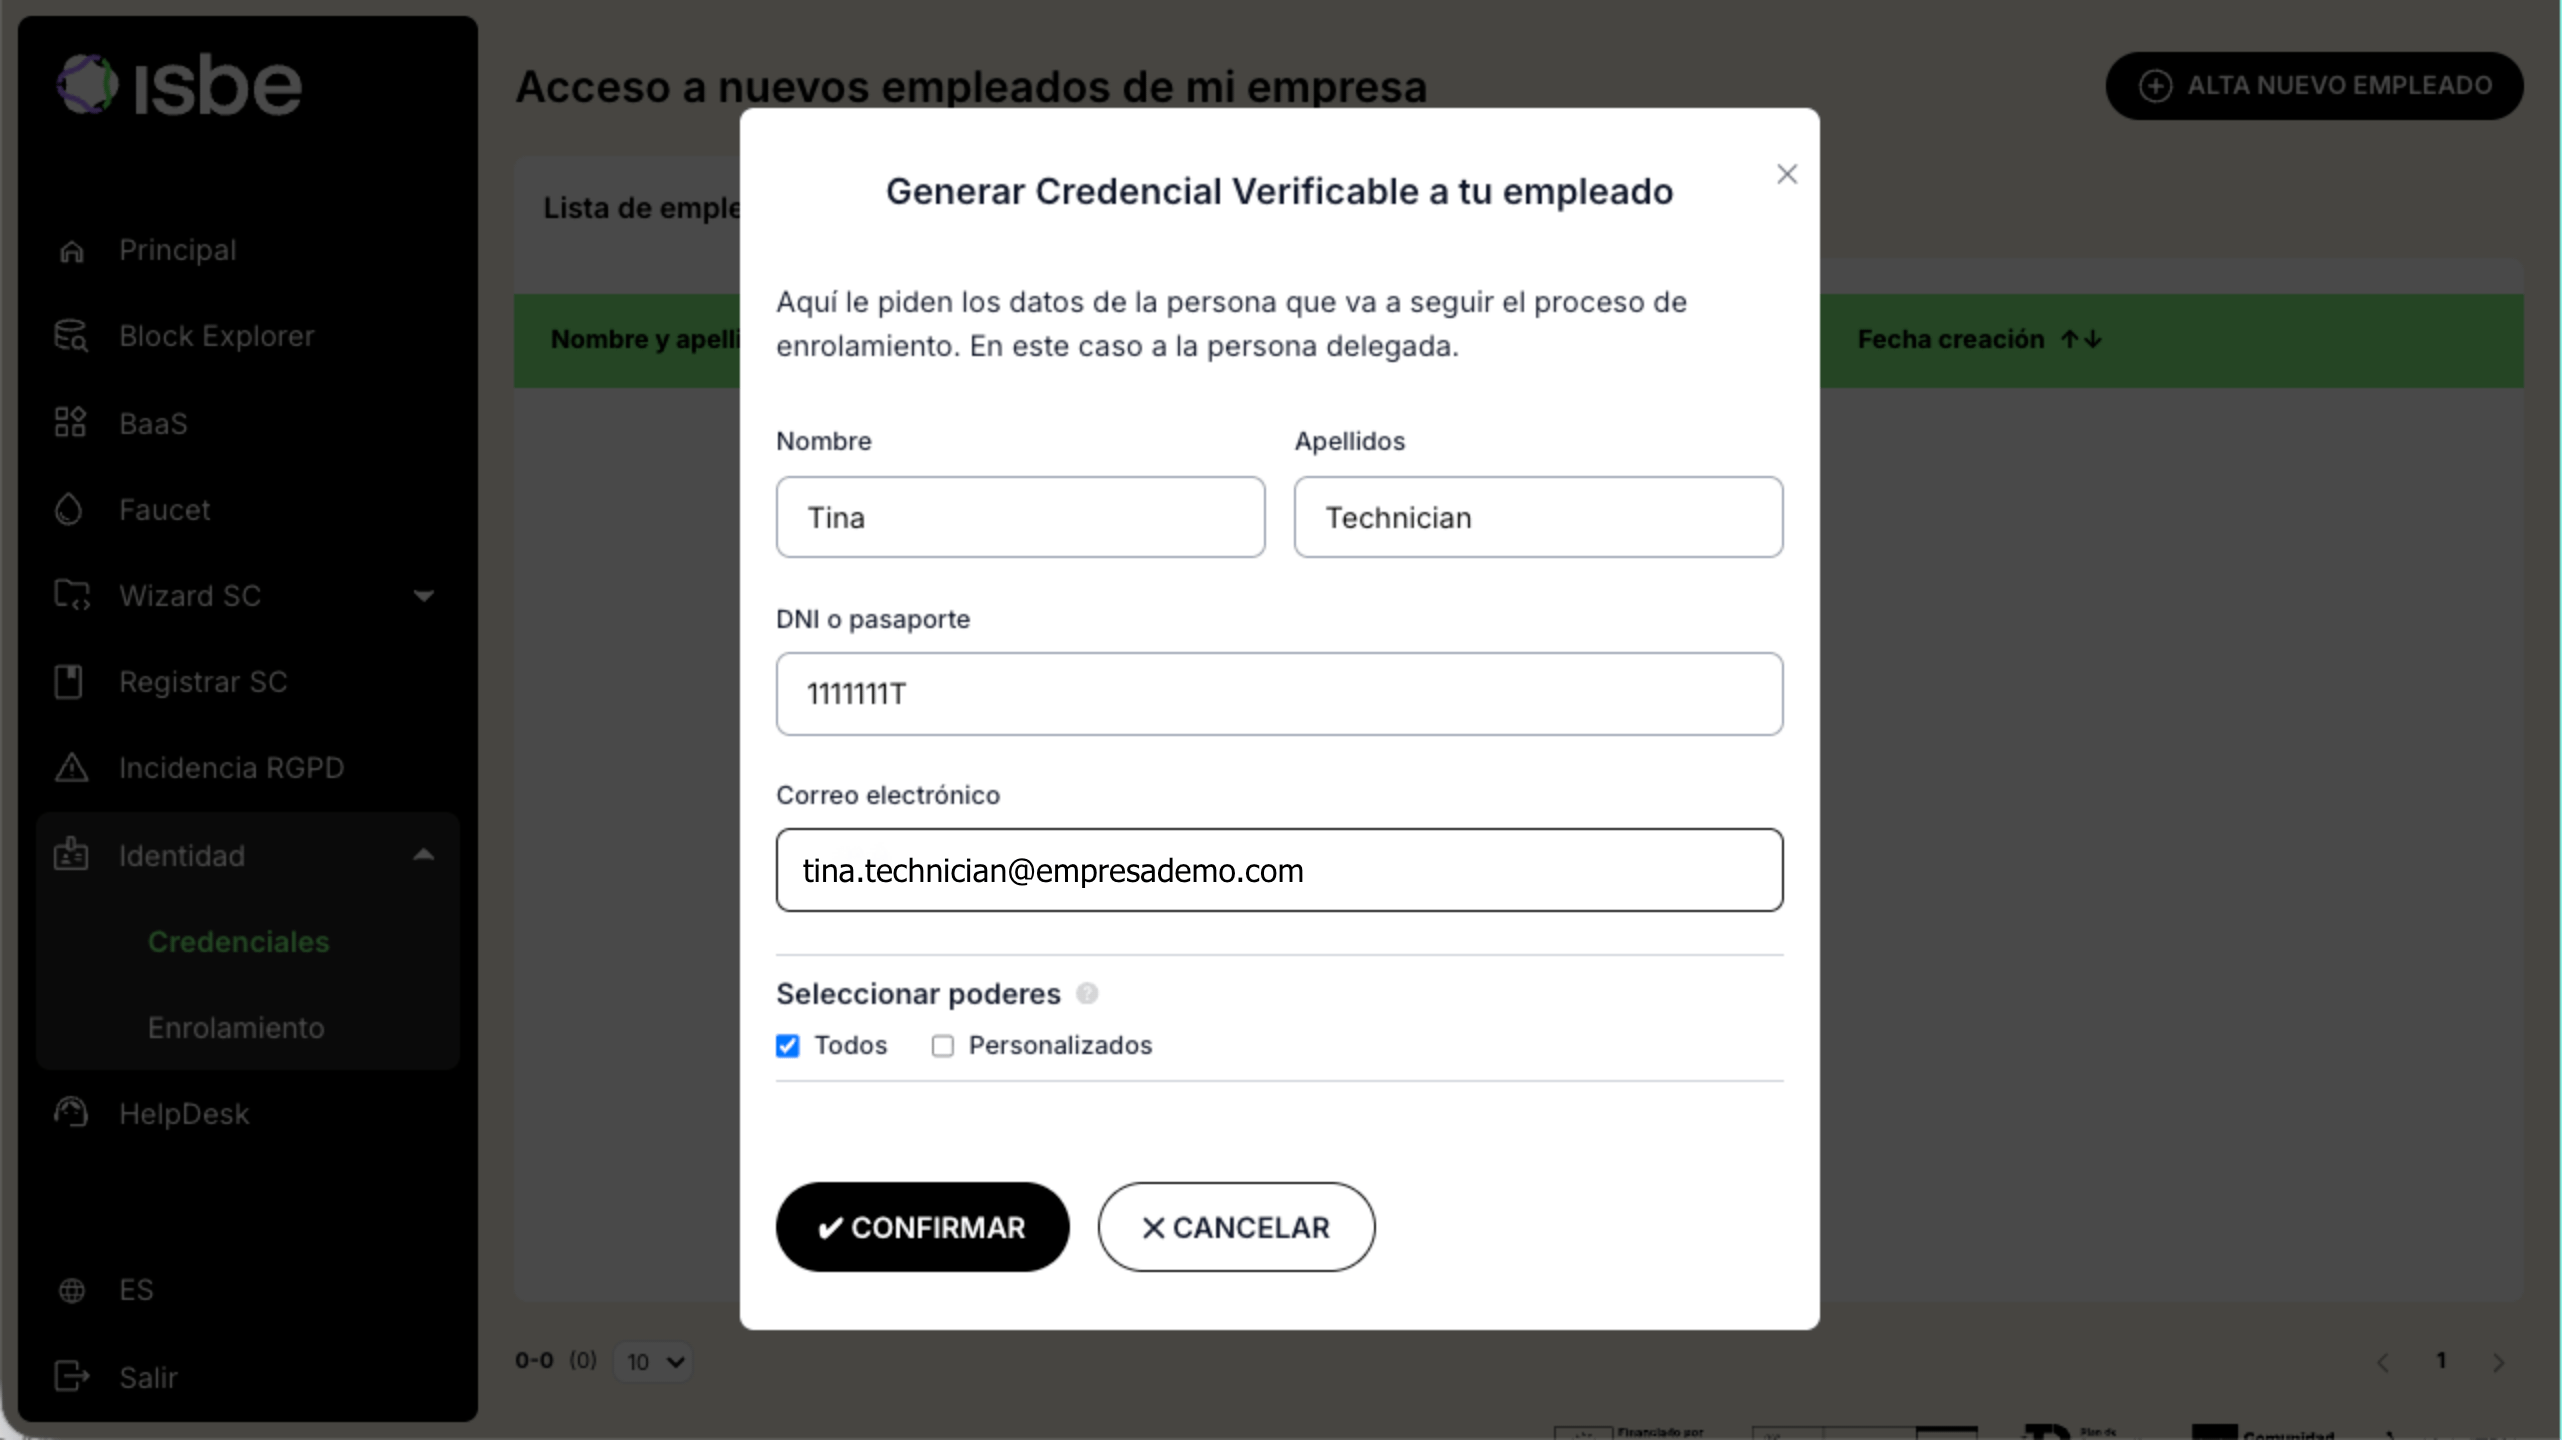
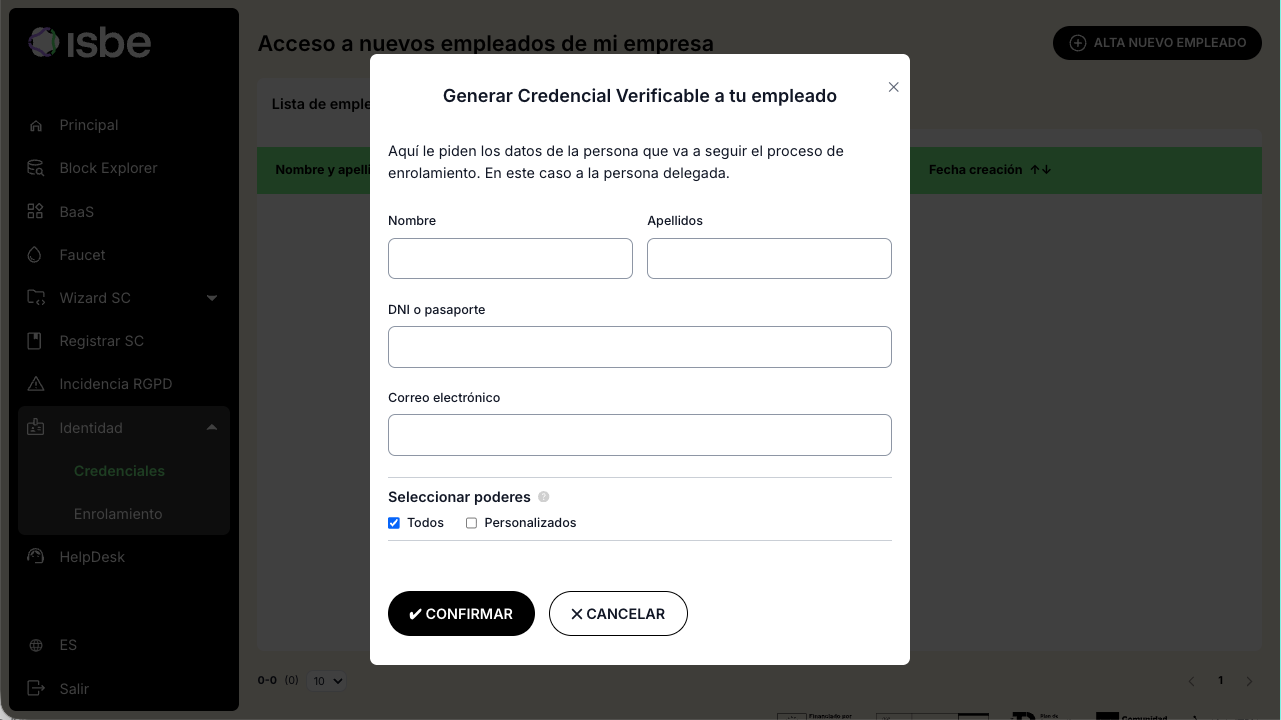
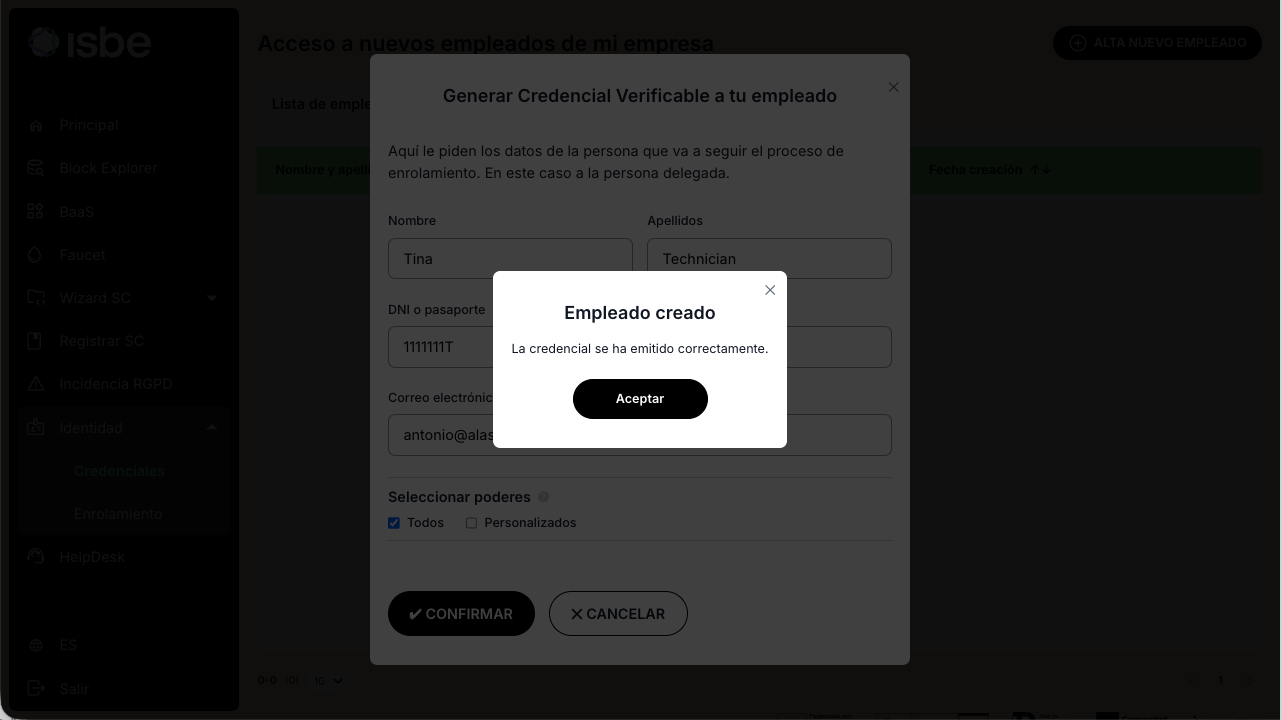
A pop-up window titled "Generate Verifiable Credential for your employee" will open. Fill in the details of the employee who will receive the credential:
- First name
- Last name(s)
- ID or passport number
- Email address (the employee will receive instructions and QR code here)
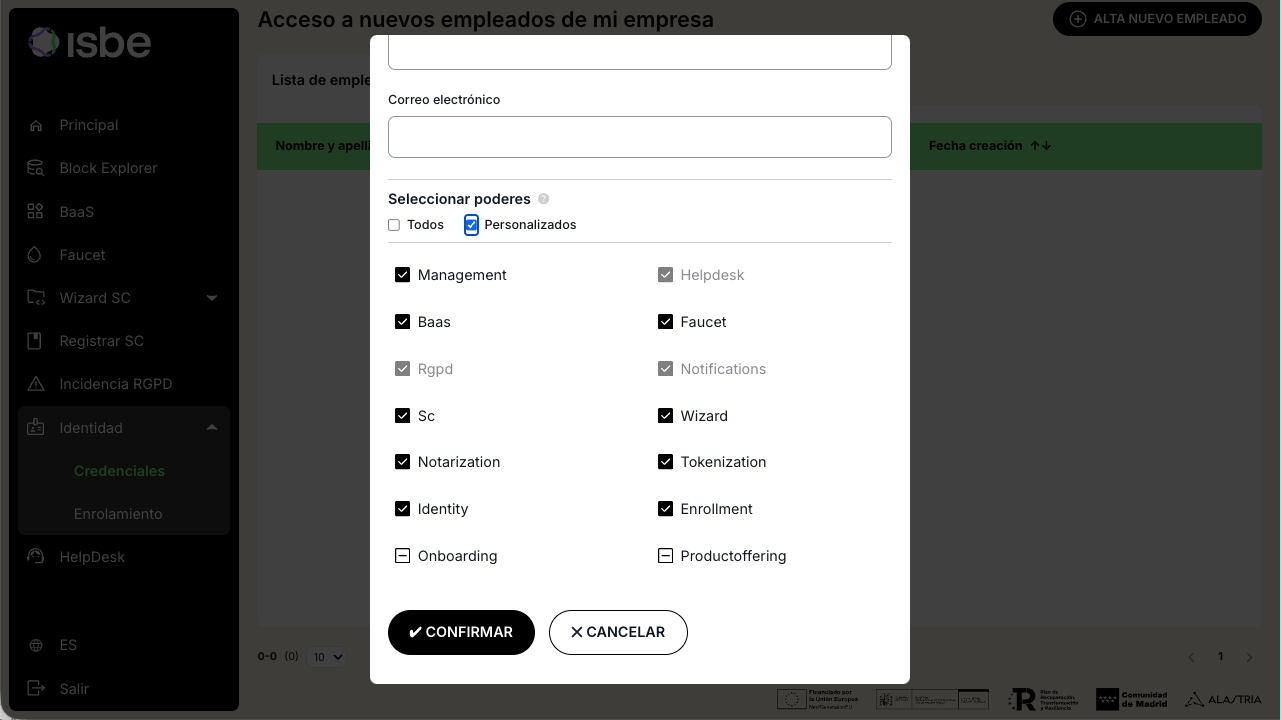
Step 3. Selecting permissions (powers)
In the "Select permissions" section, choose how the employee's permissions will be assigned:
- "All": automatically assigns all available permissions.
- "Custom": allows manual selection of permissions. Only check the modules the employee needs.
Once you have reviewed the data and permissions, click "CONFIRM".
Step 4. Confirmation and issuance of the Verifiable Credential
The system will generate and issue the Verifiable Credential for that employee. If the process completes successfully, a confirmation message will appear. Click "Accept" to close the notice.
After these steps:
- The employee is registered in ISBE.
- The Verifiable Credential has been issued.
- The employee will receive an email with instructions and a QR code to load the credential into their wallet.
2. Using the ISBE Wallet App
Step 1. Receiving the welcome email
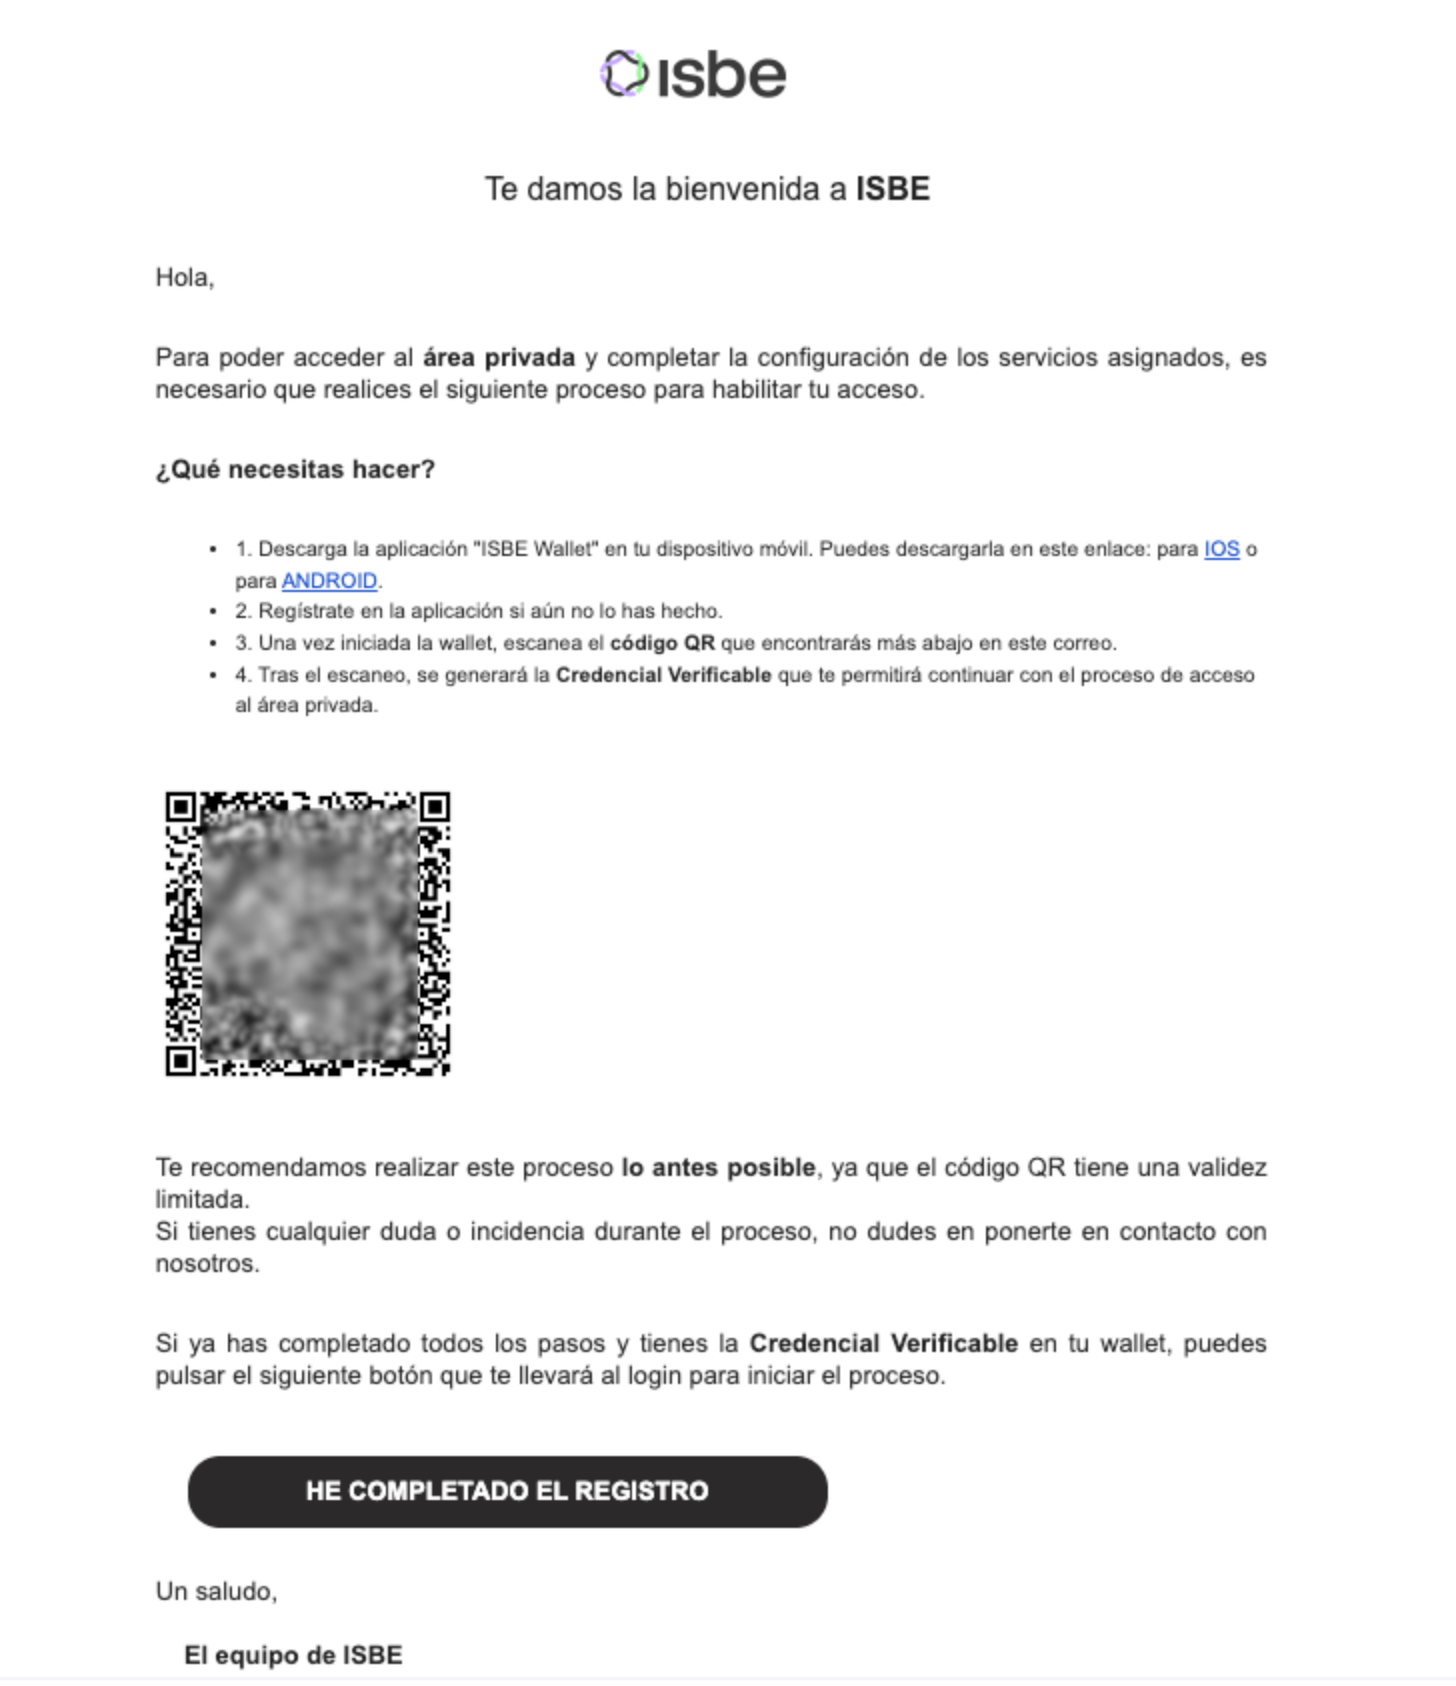
The employee will receive an email from ISBE with access instructions and a QR code.
Complete the process as soon as possible; the QR code has a limited validity period.
Step 2. Installing the ISBE Wallet app
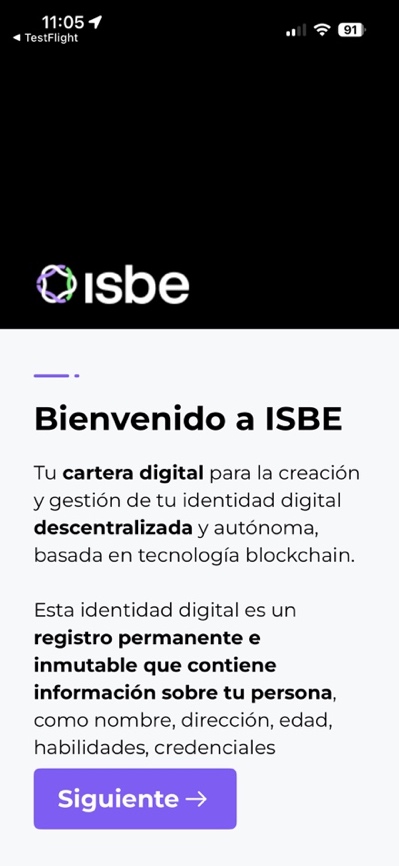
On the employee's mobile device, download and open the ISBE Wallet application (available for iOS and Android).
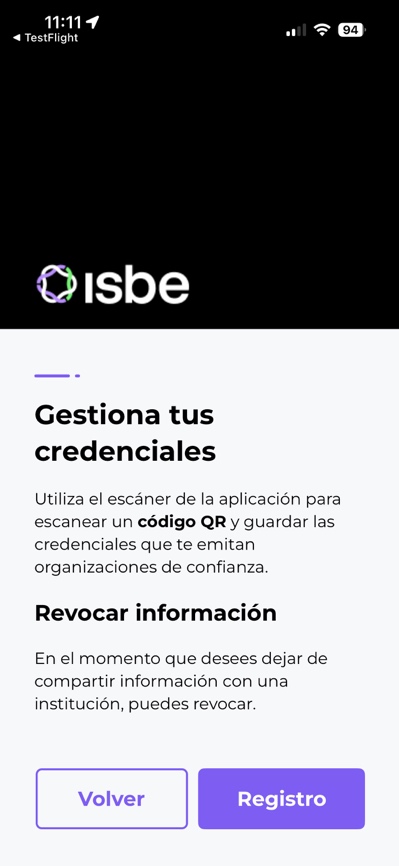
Step 3. Registering or logging in to the Wallet
Inside the app, if it's the first time, the employee must register in ISBE Wallet by following the app's setup assistant.
Step 4. Creating a security PIN
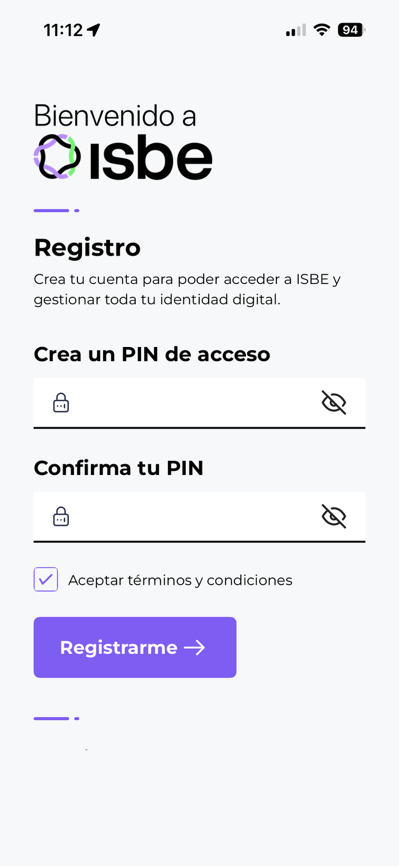
The application will request the creation of a security PIN to protect access:
- Enter a secure numeric PIN.
- Confirm the PIN by repeating it in the second field.
- Check "Accept terms and conditions".
Step 5. Accepting terms and conditions
The application will display the ISBE Wallet Terms and Conditions. Acceptance is mandatory to store the Verifiable Credential. Read the content to the end and click "Accept".
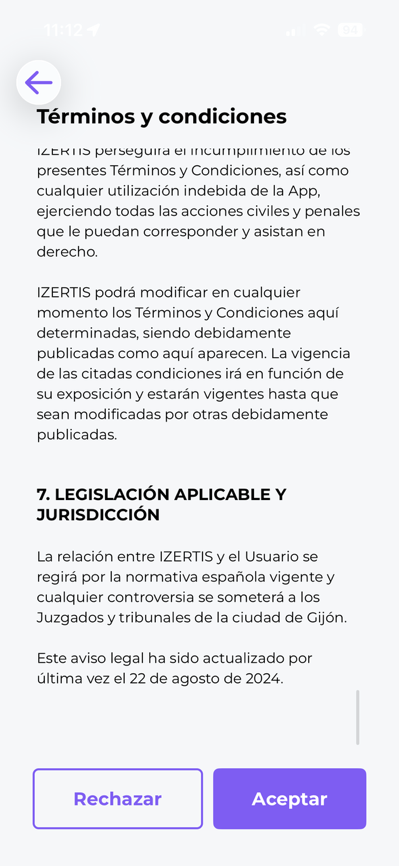
After accepting, click the "Register" button.
Step 6. Enabling biometrics
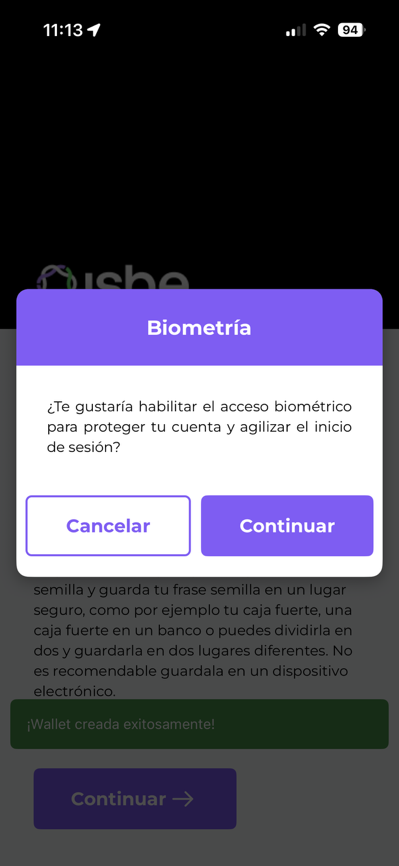
If the device supports biometrics (fingerprint or facial recognition), the application will offer to enable it for quick access and to authorize operations without entering the PIN manually. Click "Continue" to enable it, or "Cancel" to skip this step.
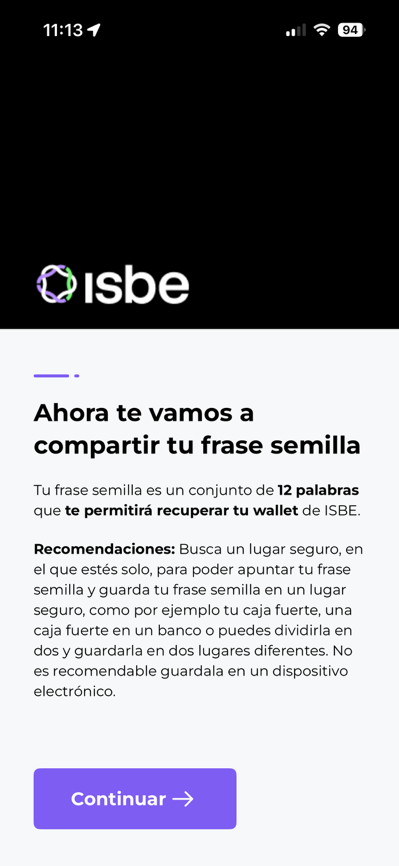
Step 7. Generating the recovery phrase
The application will automatically generate a seed phrase (mnemonic). This phrase is the only mechanism to recover the wallet in case of device loss or replacement.
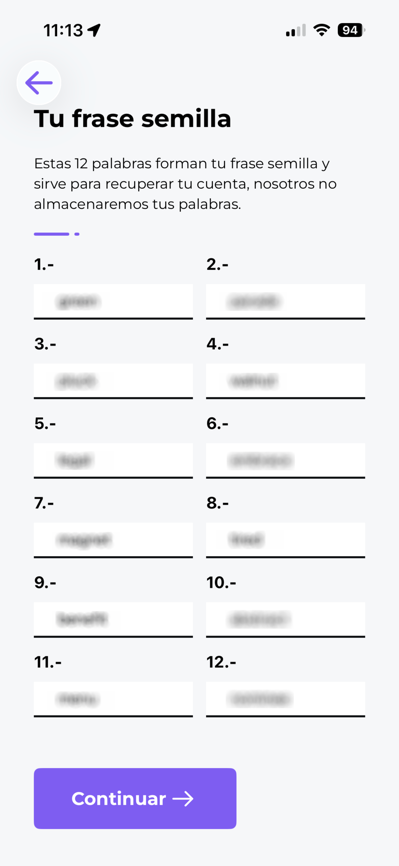
Step 8. Viewing the seed phrase
- Write down the words in the exact order they appear.
- Store them in a safe place and never share the phrase with anyone.
- Do not take screenshots.
- Anyone with access to this phrase can access your wallet and credentials.
Once correctly noted, click "Continue".
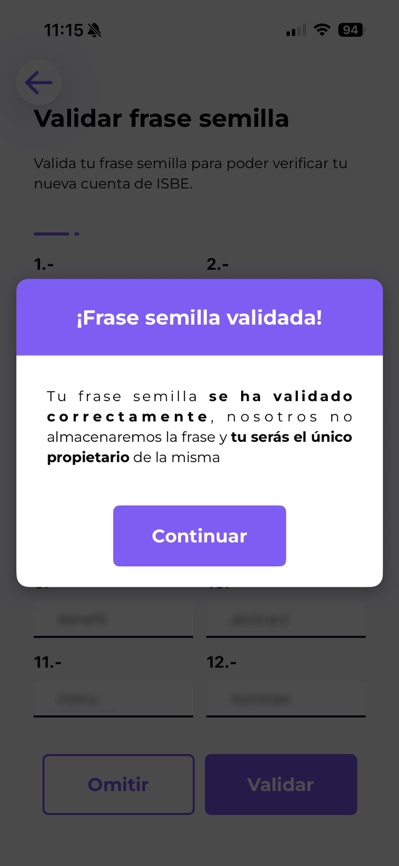
Step 9. Confirming the recovery phrase
To verify the phrase has been saved correctly, the application will ask you to complete the words in the correct order. Once completed, click "Confirm".
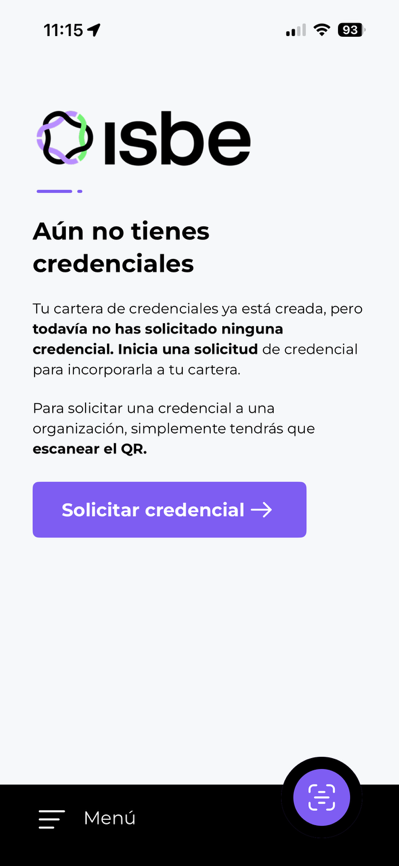
Step 10. Completing the setup
Once ISBE Wallet is configured, click "Request Credential". The device camera will open to scan the QR code received by email.
Step 11. Requesting the credential
After scanning the QR, click "Request Credential" to start obtaining the Verifiable Credential.
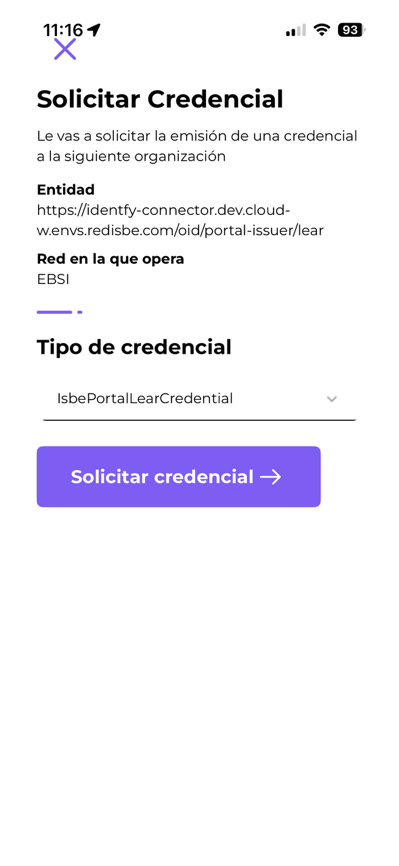
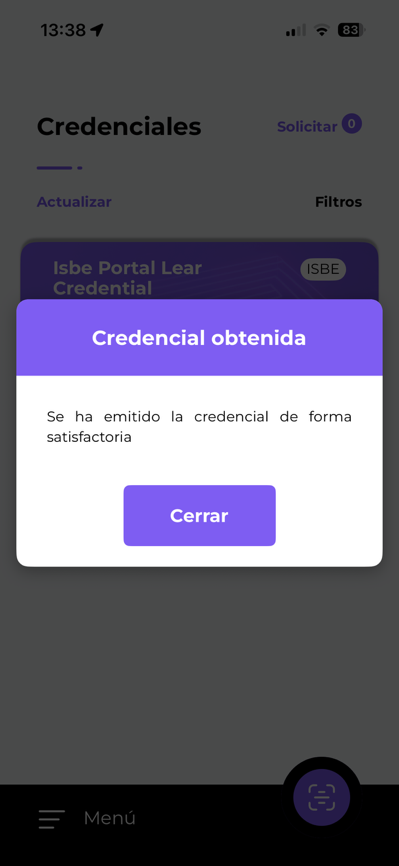
Step 12. Credential obtained
The Verifiable Credential is now available in the ISBE Wallet. Click "Close" to continue.
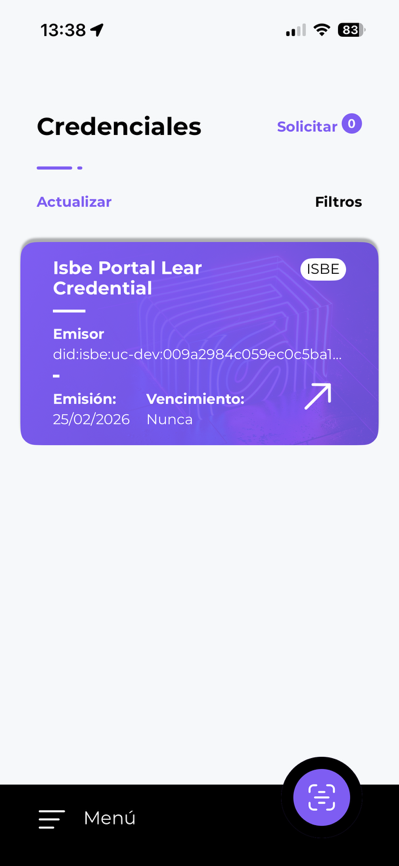
Step 13. Credentials list
The new credential is visible in the app's credential list. You can tap on it to review its content.
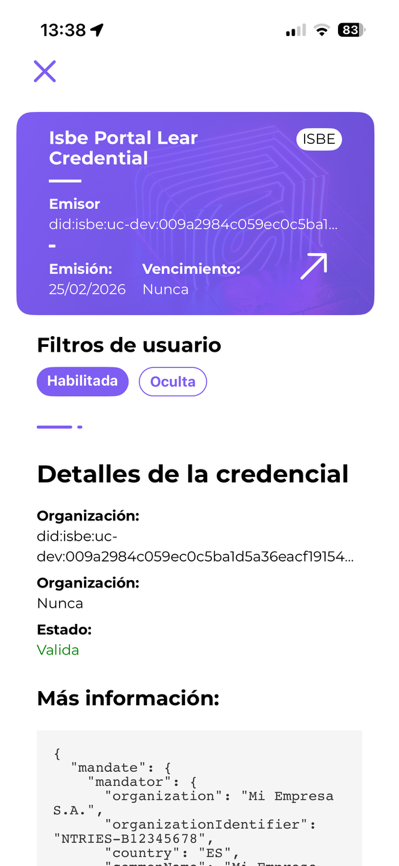
Step 14. Credential details
From here you can view all the details of your Credential. Close this view with the "X" at the top left.
Step 15. Accessing the Portal with your new Credential
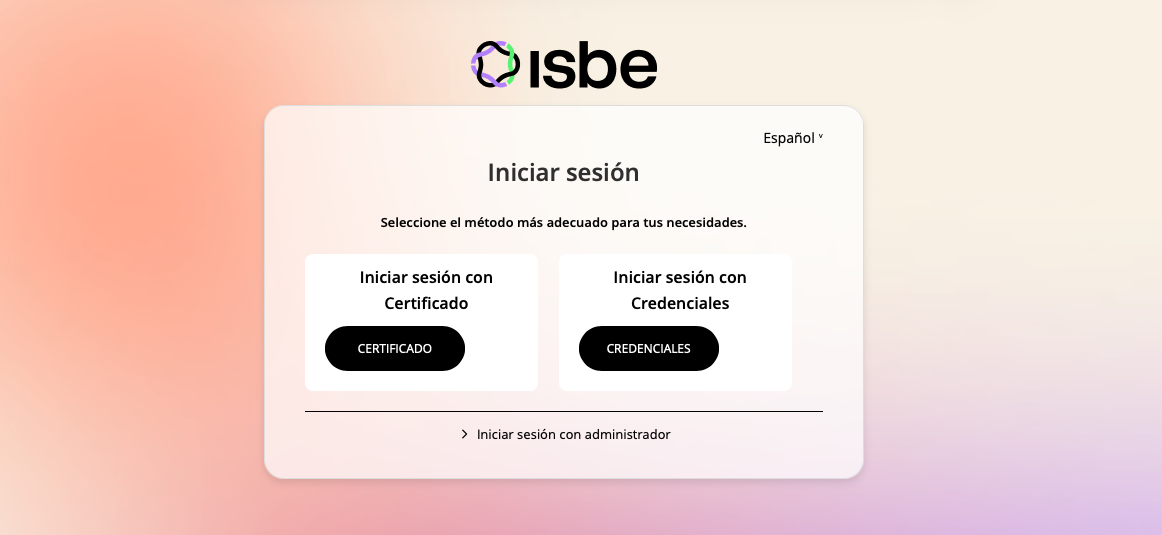
On the ISBE Portal login screen, you will find the option to authenticate using a Verifiable Credential. Click the "Credentials" button.
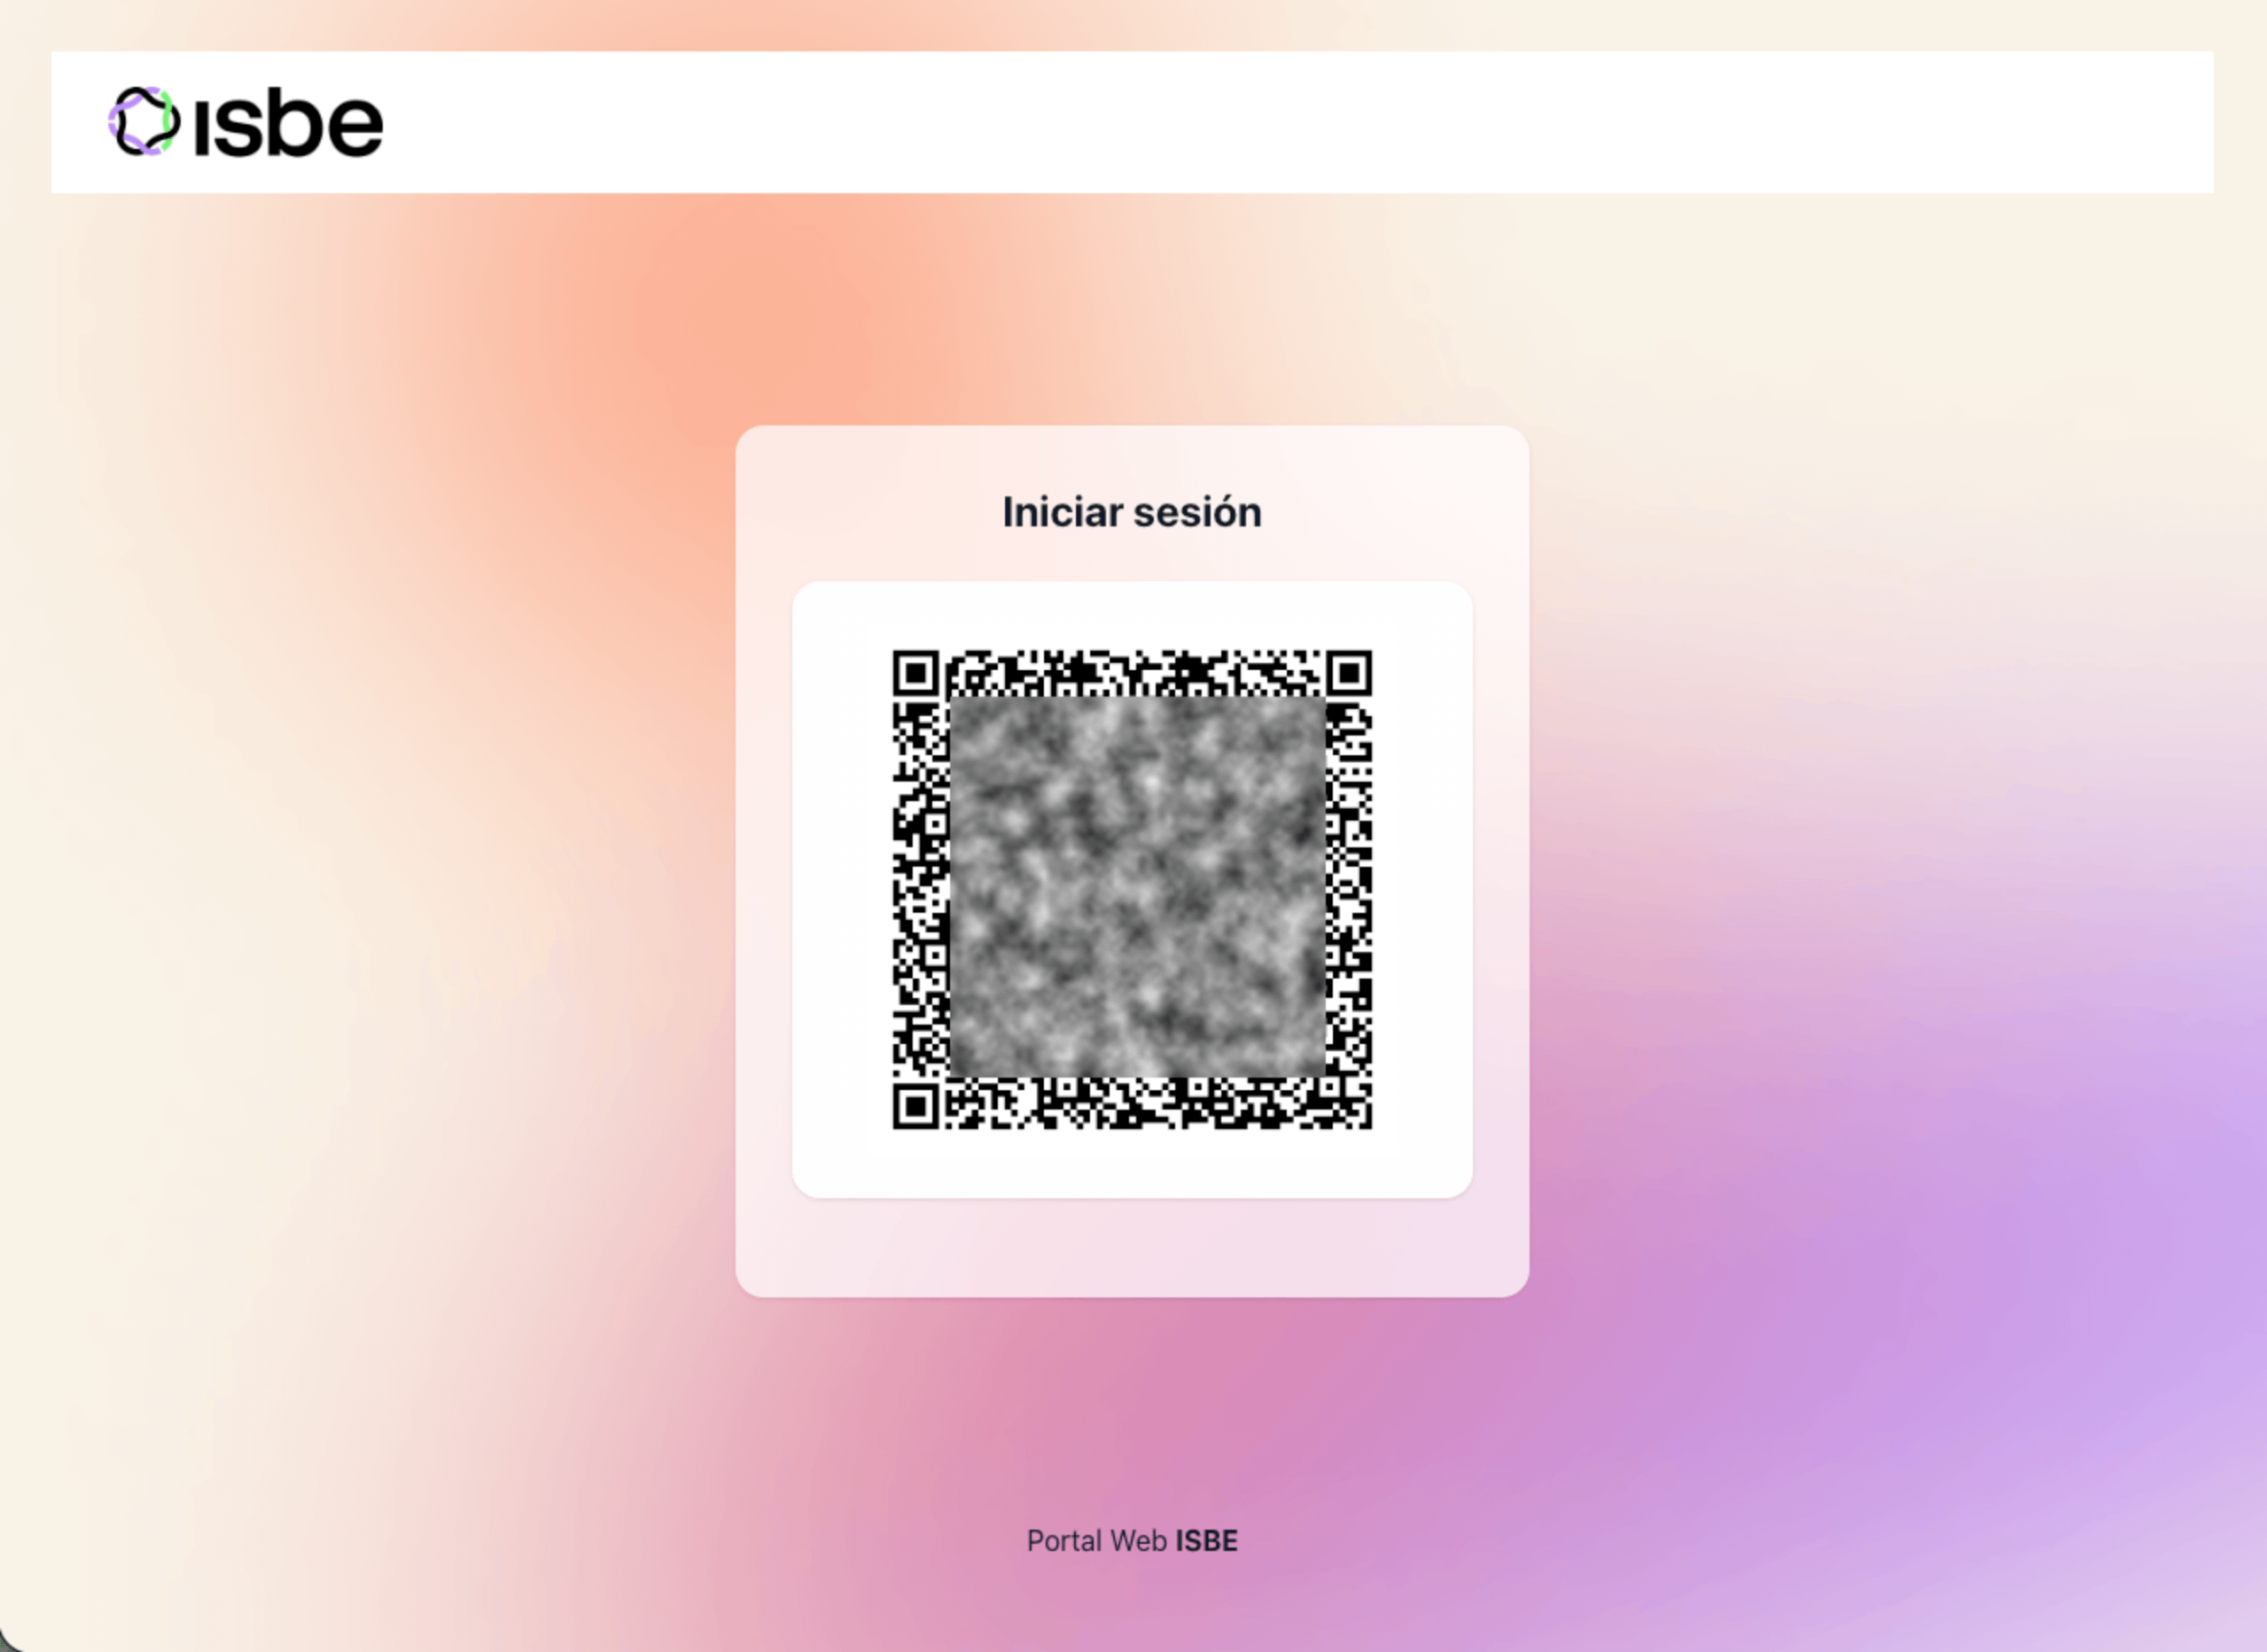
Step 16. Viewing the Access QR code
The screen shows a QR code that you must scan with your ISBE Wallet app.
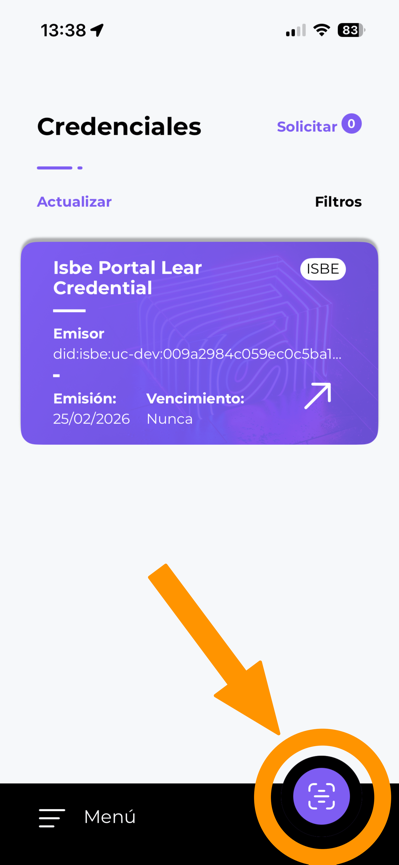
Step 17. Scanning the QR code
Use the QR scan icon in the app to open the camera. Scan the QR code shown on the previous screen.
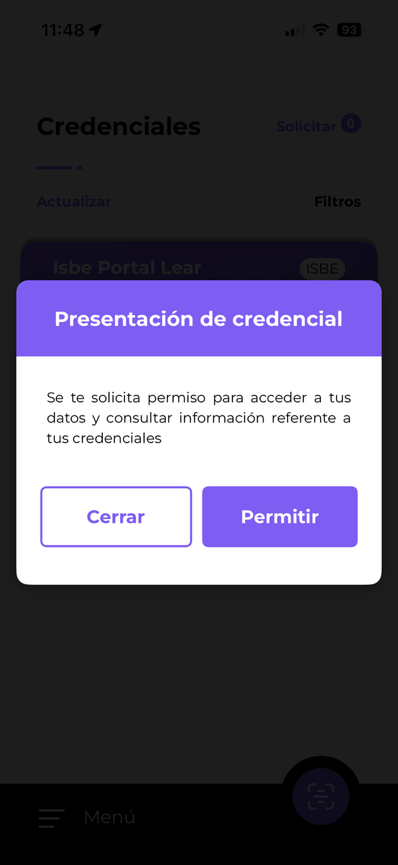
Step 18. Presenting the credential
The application displays the permission request to access the credentials. Click "Allow".
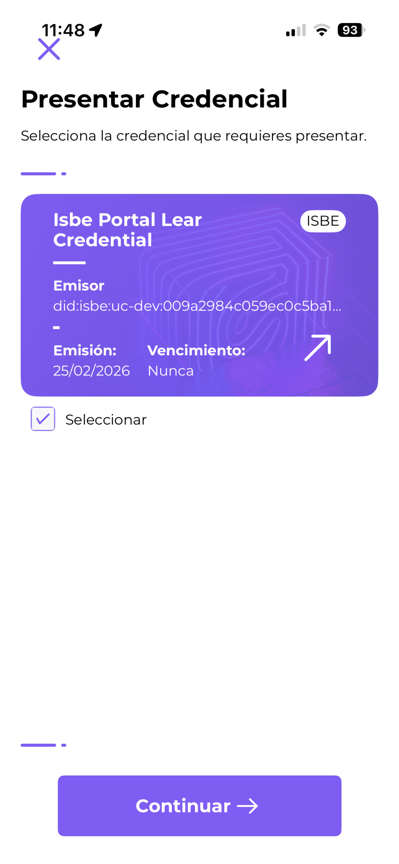
Step 19. Selecting the Credential to present
Select the credential granted in the previous steps and click "Continue".
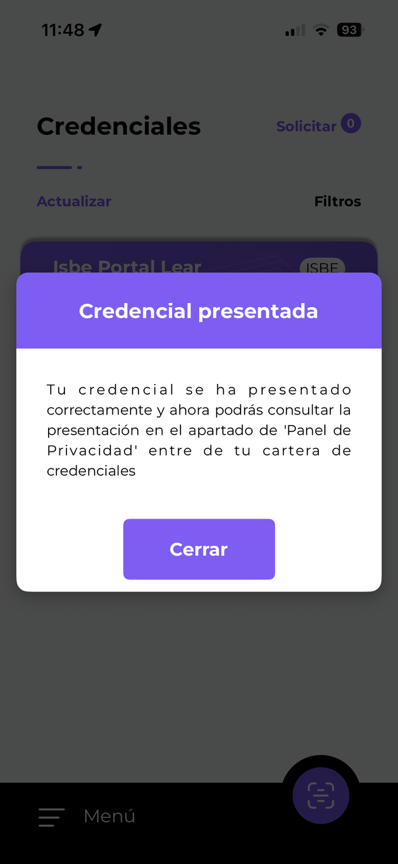
Step 20. Credential presentation confirmed
The application confirms that the Credential has been presented successfully. You can now return to the Portal page to complete your access. Click "Close".
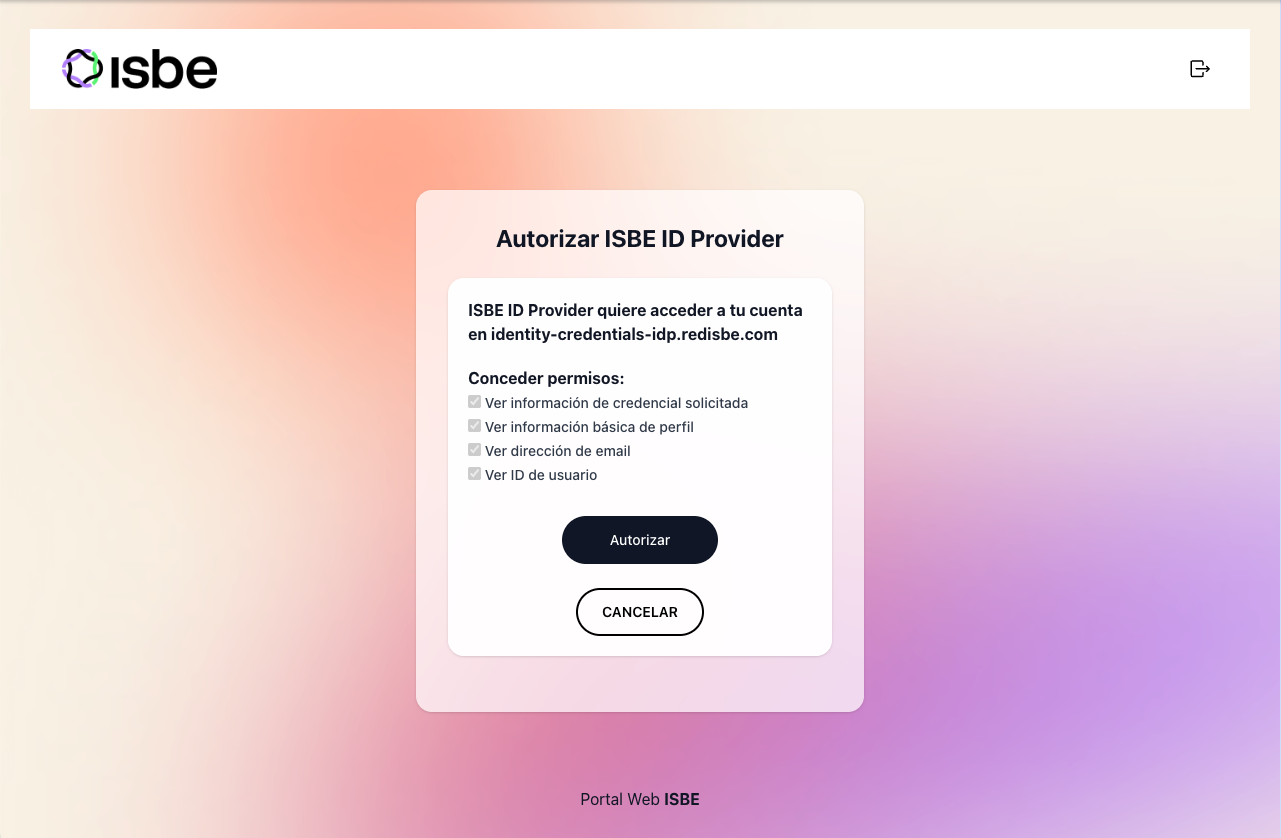
Step 21. Accessing the ISBE Portal welcome page
The system reviews your Verifiable Credential and requests authorisation to read the required fields.
The system validates your Verifiable Credential with the granted permissions and grants you access to the ISBE Portal.
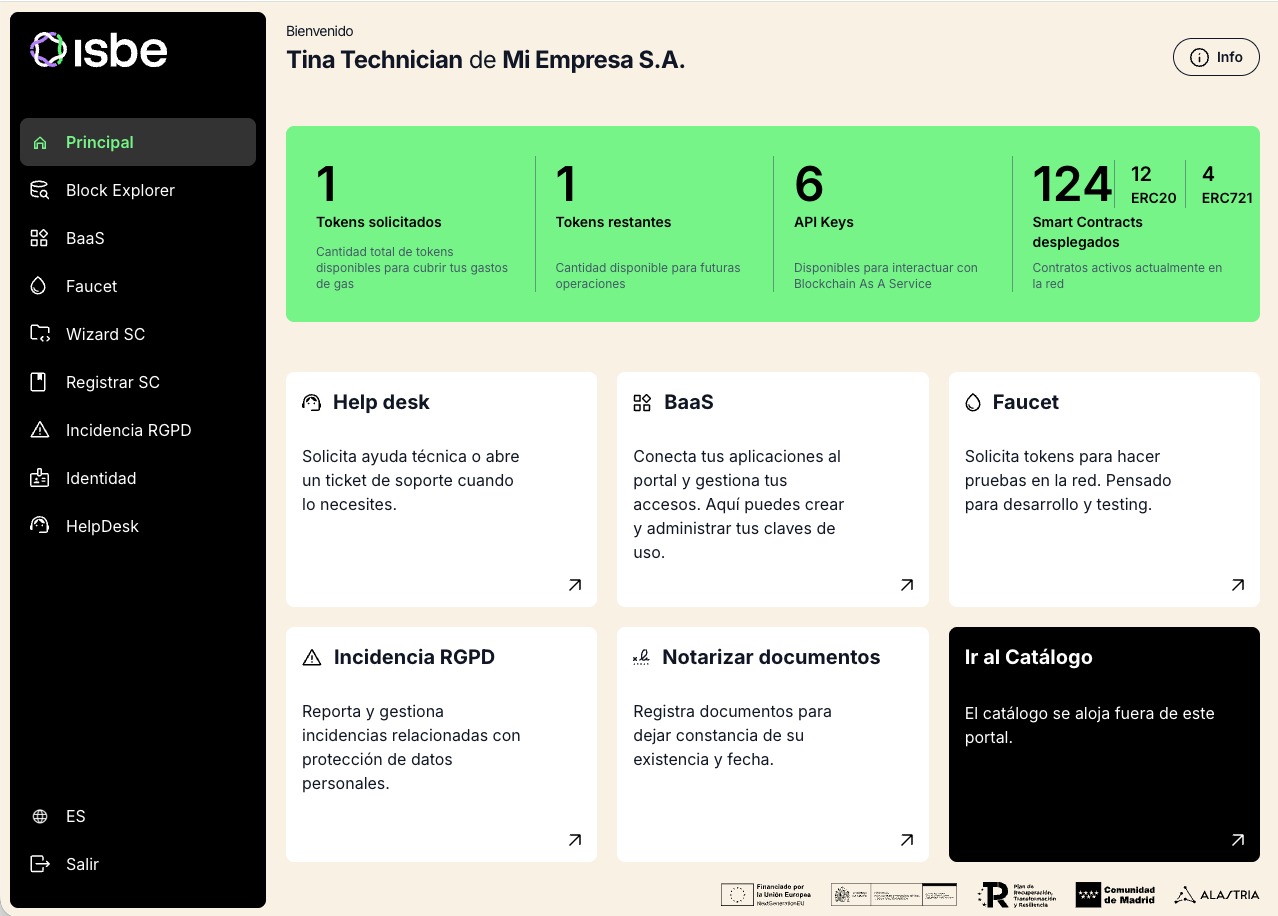
Step 22. Reviewing access
From the Credentials section of the Portal, you can review the employee's access status and manage their permissions.